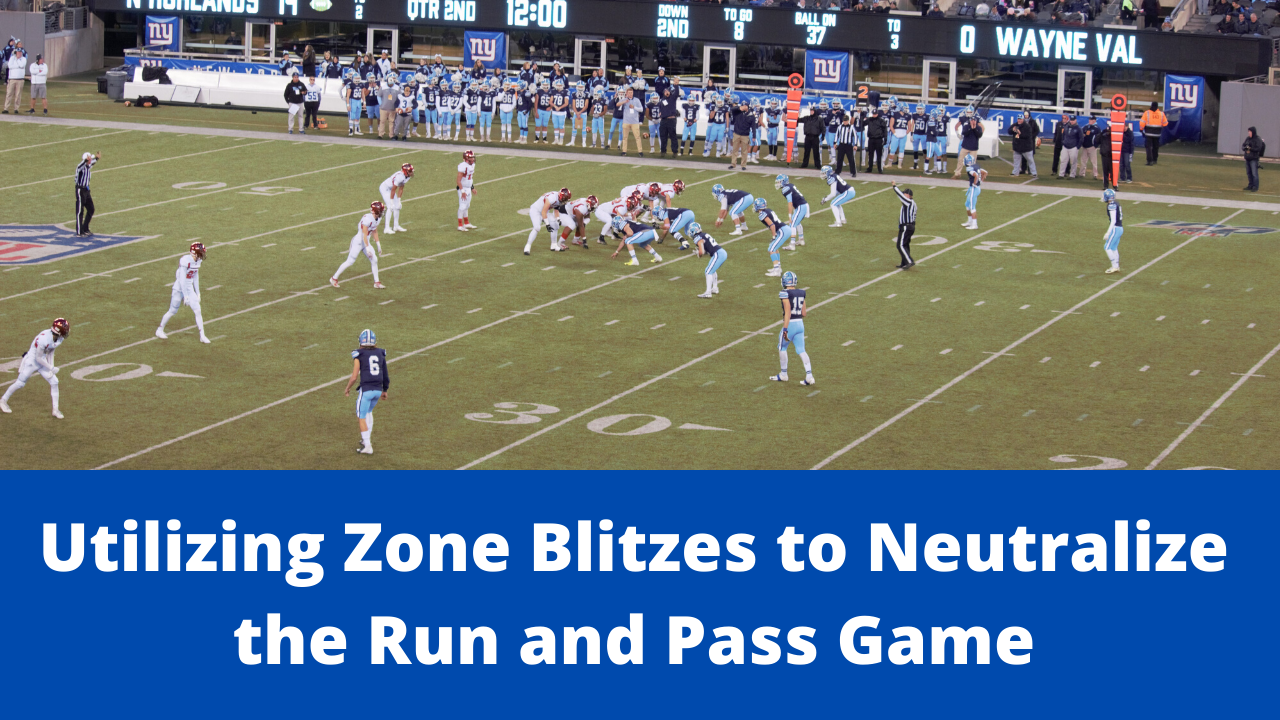
Utilizing Zone Blitzes to Neutralize the Run and Pass Game
We’re a defense that plays Cover 3 as our base coverage. There aren’t many teams on the
Utilizing Zone Blitzes to Neutralize the Run and Pass Game
It’s a great idea to utilize zone blitzes if you have defensive ends that are athletic. We all know that is the case with most
Disclaimer: I prefer to draw my defense on the top! Most people draw up plays with the defense on the top.
Storm Zone (run blitz)

This is one of my favorite zone blitzes. This zone blitz is designed to take away run plays to the strength of the formation. The Storm Blitz is a pressure we love to call to the Tight-end side because it sends a defender through every gap and it is sound against inside and outside runs to the TE side. The (M) will creep up pre-snap, showing like he is going to blitz the A-gap. Post snap, the (M) blitzes B-gap, comes behind the DE (DE slants down to A-gap first). The (R) will remain stacked behind the DE and blitz C-gap once the ball is snapped. The Outside Linebacker (D) will come off of the edge- he must maintain outside leverage as he is the contain player. The (FS) and (CB) will each play half the field on this zone blitz. This blitz has the defense playing cover 2 behind the blitz. This is a blitz that we like to execute to the strength of the formation and from the wide side of the field if you are playing a balanced formation. All slanting defensive linemen dip and rip. If you are concerned about a TE quick pop you can have the (D) jam the (TE).
Blood Zone (run blitz)

This is a blitz we like to use against compressed formations. I wouldn’t recommend this against true spread formations (2×2 / 3×1). There are big holes in the middle of the field. However, this is a blitz that will almost always give you a free rusher. The (SS) rolls down as the QB begin his snap count. Once the ball is snapped, he blitzes off of the edge. It’s important that he maintains outside leverage as he is the primary contain player. The (M) and (W) creep up as the Quarterback behinds his cadence. Make sure they don’t give away where they are blitzing too early. The (S) will play a wall technique. Wall technique means he is walling off any inside routes. The zone dropping (DE) blue line, will also play a wall technique and will look to get underneath the X or take any swing pass out of the backfield. If you are playing a team that likes to utilize a TE quick pop you should have the DE jam him or you can have the (S) just play man to man on the (Y). You can also play a split field coverage, where the S and CB are playing man to man and the (DE), (CB), and (FS) play cover 2 to the other side.
Lion Zone (pass blitz)

This is one of my favorite blitzes for passing situations and against spread formations. This zone blitz will allow you to send multiple fast defenders (linebacker and a safety) while still staying strong against the pass with a 6 man coverage. This blitz is also very deceptive and it will keep the offensive linemen on their heels. Pre-snap, the (SS) will show that he is playing man to man on the (Y). Once the QB begins his cadence he comes off of the (Y) and aligns outside of the the (DE). Once the ball is snapped, he blitzes off of the edge, keeping his outside shoulder free. The (S) will show blitz only when the QB begins his cadence. Once the ball is snapped, he is blitzing C-gap. The (DE) blue lines, will play a wall technique and not allow any inside routes from (Y). He must open his hips and run to his zone. The only route where you are vulnerable is if the Z runs a hitch. To combat that, the DE has get under the (Z) which will create a tougher throw for the QB. Throwing the Hitch to a wide receiver is a tough throw on the
See Also: Defending 4-Verts
Fire Zone (pass blitz)

This is another one of my favorite zone blitzes to call on passing down and distances. I like to run this against certain formations like Pistol or any formation with twin receivers to one side. This is a great blitz that is very deceptive, aggressive, but also safe- as you have 6 defenders playing coverage behind the blitz. The (SS) will come up as the QB begins his cadence and he will blitz off of the edge. He needs to keep his outside shoulder free as he is the primary contain player on that side. The (S) is in an under alignment and we will send him off of the edge. The (DE) blue lines, will have the hook zone. This is a nice easy zone drop that doesn’t require him to cover a lot of ground in order to get to his zone. This is a simple blitz to install as the DE and SS are just switching responsibilities. On the base call the (SS) would roll down and have hook zone and the DE would rush off of the edge and be the contain player. On this zone blitz the (SS) is rushing and the (DE) is playing the hook zone.